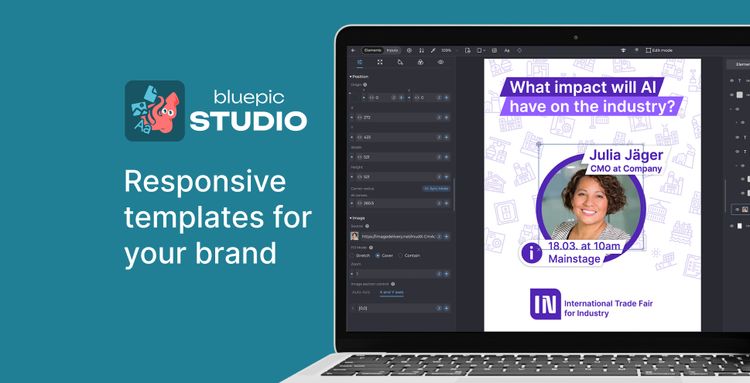
Presets in BLUEPIC Studio
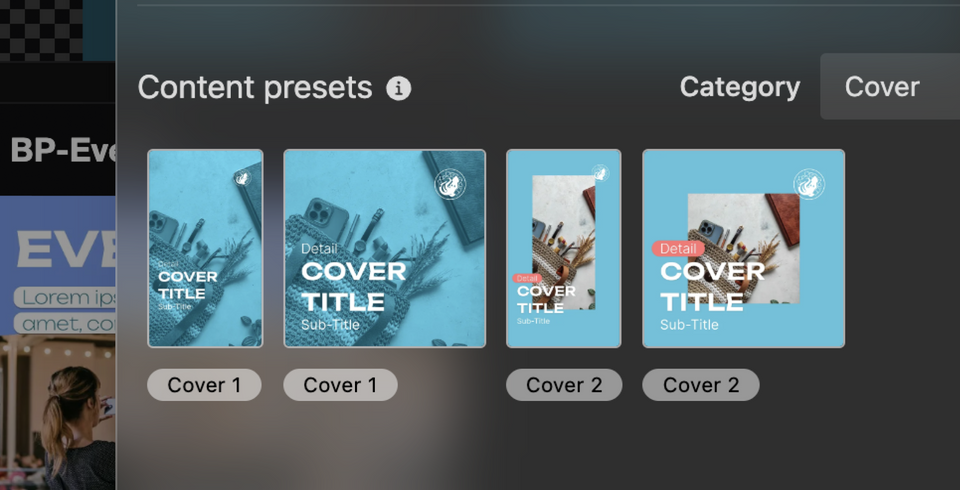
Use presets in BLUEPIC Studio to get a better understanding of how to create BLUEPIC templates yourself.
1. Open BLUEPIC Studio
Open BLUEPIC Studio and log into your account.
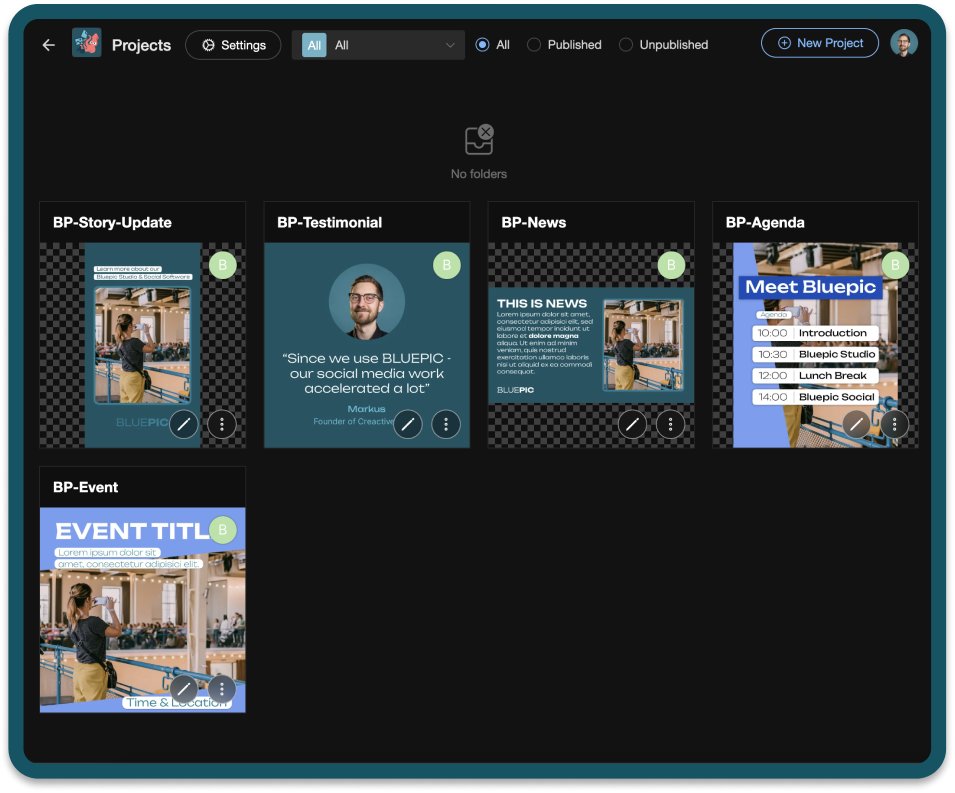
2. Create A New Project
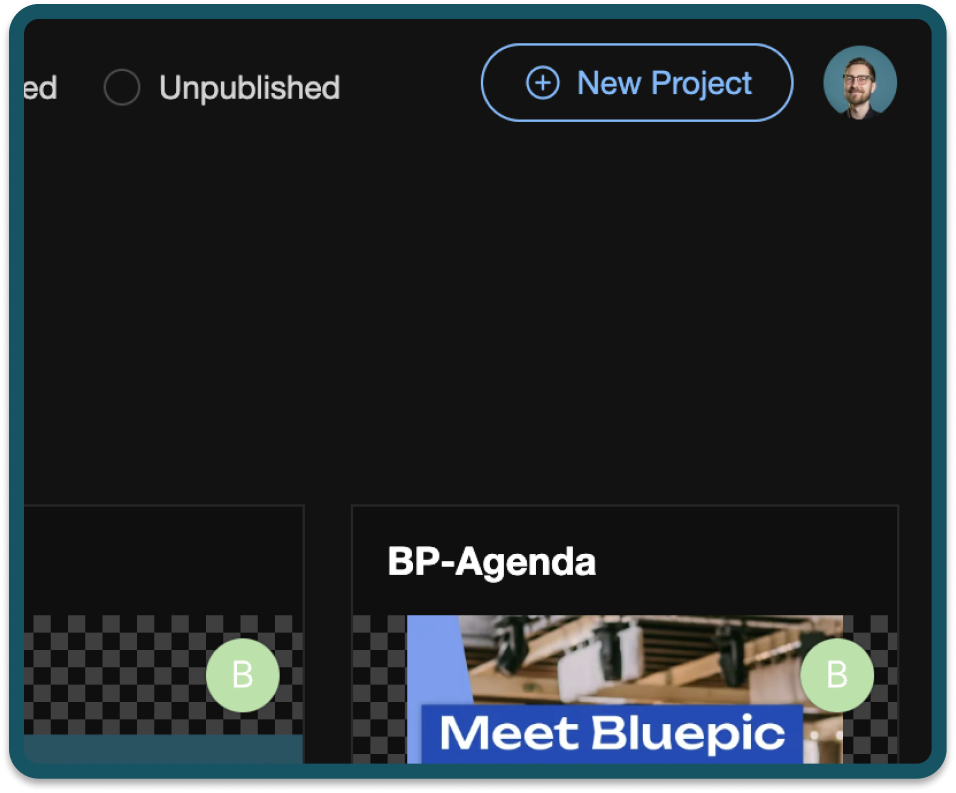
Create a new project by clicking the button in the upper right corner of BLUEPIC Studio next to your profile picture.
3. Instead Of Selecting An Empty Project...
A pop-up window asks if you want to create the new project with a blank canvas or if you want to start the new project with a preset as a base.
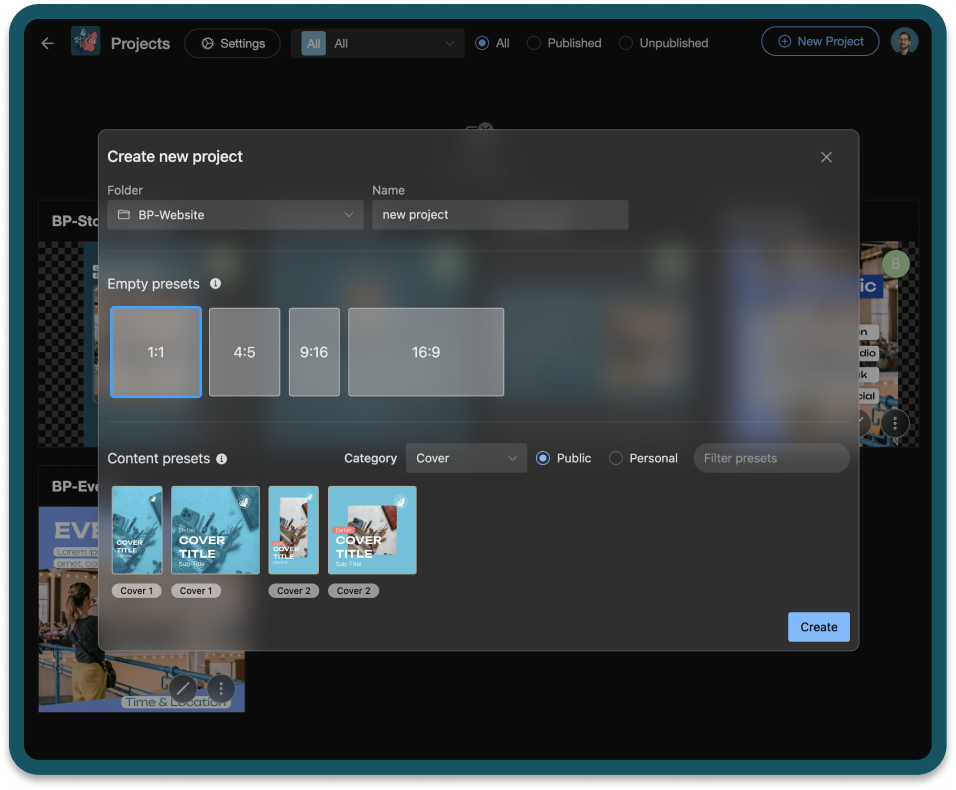
4. ...Choose A Preset
We offer presets in different aspect ratios (like 1:1, 4:5 or 9:16) and for different use cases. You can filter by categories to find the presets that best fit your needs.
By the way: We add at least one preset to the mix every week.
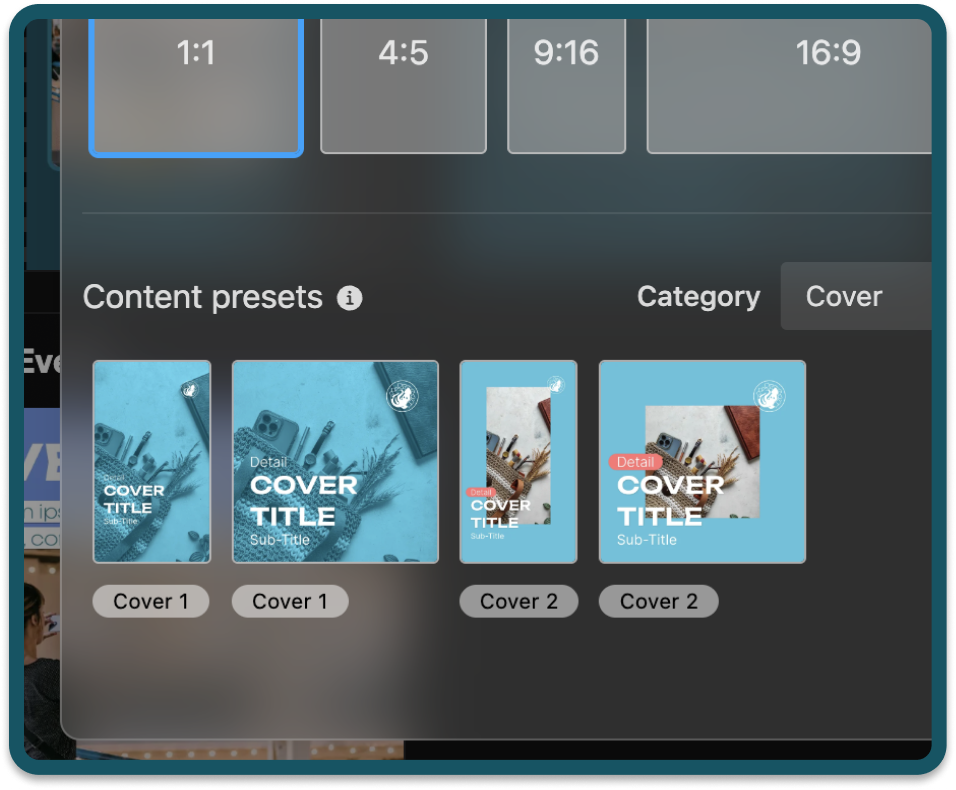
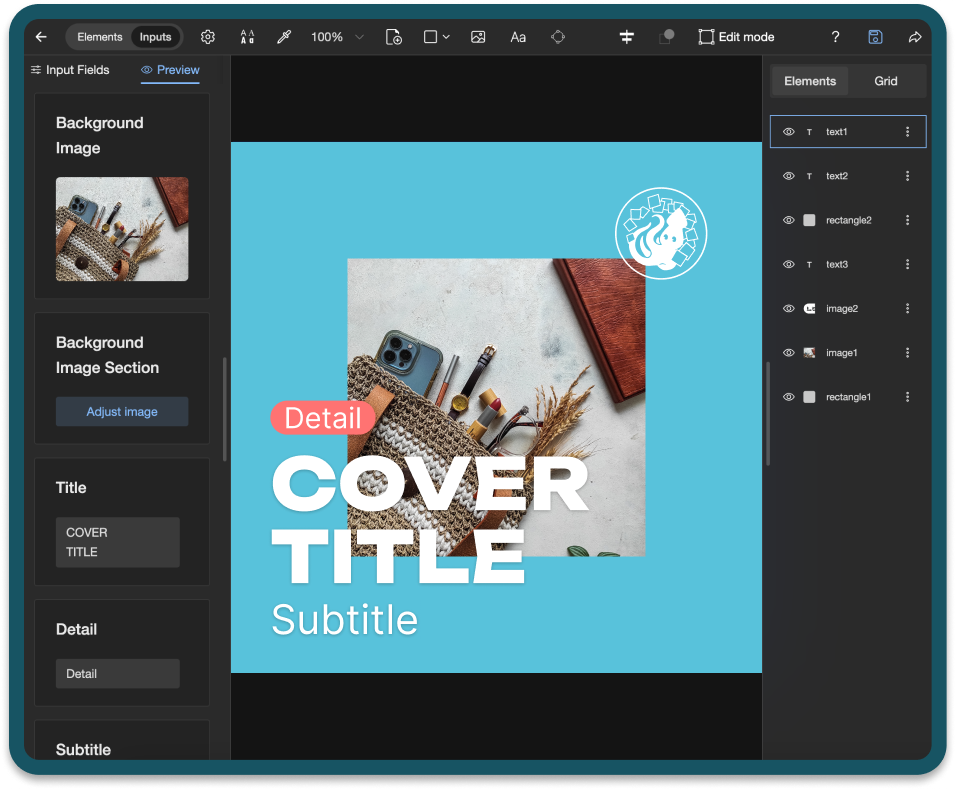
5. The New Project Will Be Created With Pre-Existing Design Elements And Input Fields
Once you have made your choice, the project will be created with design elements and input fields already in place based on the preset you selected.
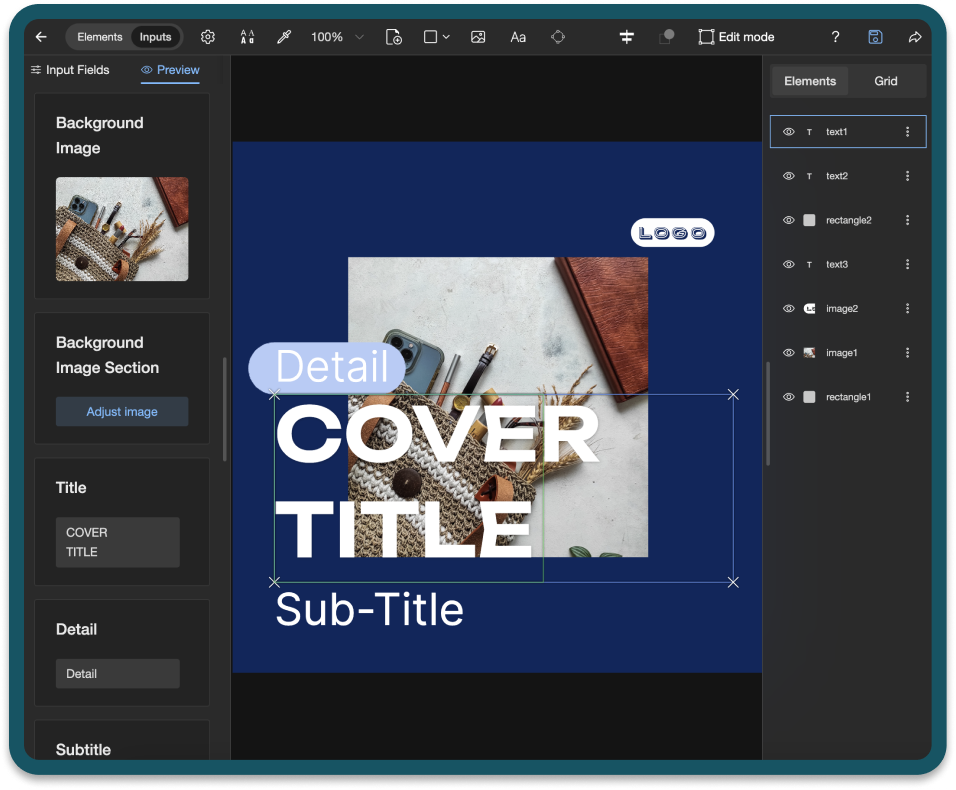
6. Feel Free To Select Any Element To Examine Its Properties
Presets are not just meant for instant publishing. Take a look around! See how the input fields are configured and learn best practices.
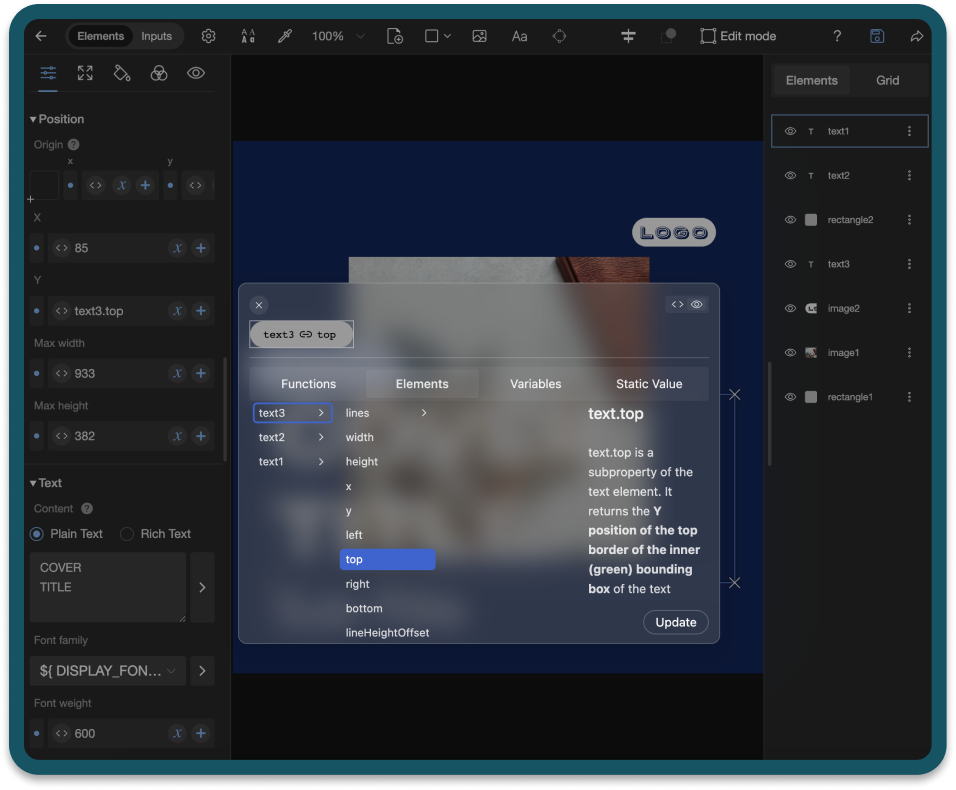
7. And To Edit, Add Or Delete Whatever Elements And Fields You Need
And most importantly, change what you need differently! Maybe your logo is too big or too small. Just change the width and height of the element. Or maybe you don't need a subtitle. Delete both the input field and the element. Get creative!
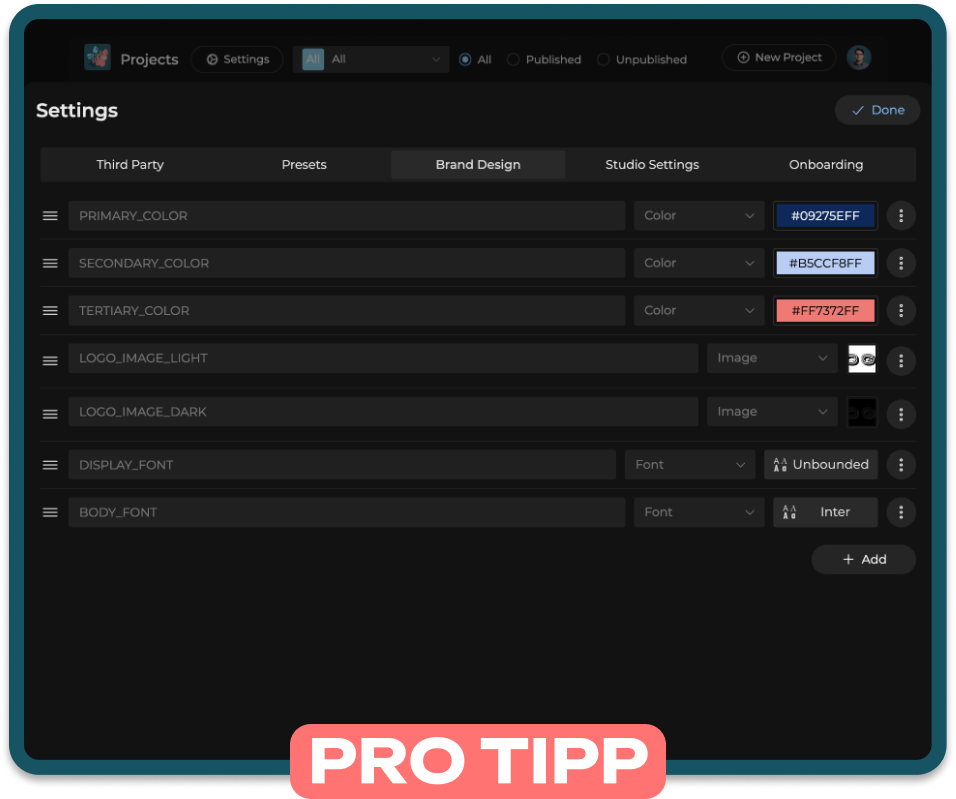
Pro Tipp🤓 Edit Your Brand Design In The Studio Settings Before Using A Preset.
Presets are designed to use the brand design variables from your studio settings. So edit those variables before you use a preset to make them more useful. If you only have one version of your logo, use it for both logo variables. The same goes for your font.
Sign Up for BLUEPIC and start using presets to create your own BLUEPIC templates.
Follow us on YouTube to get notified about the latest education content from BLUEPIC.


