Step-by-step guide on getting Bluepic up and running in your team

Bluepic is a suite of tools designed to enhance your team's graphic design and content production workflows. Here's a quick, step-by-step guide to implementing Bluepic STUDIO, Bluepic SOCIAL, and Bluepic EMBED into your team's routine.
Step 1: Account Setup
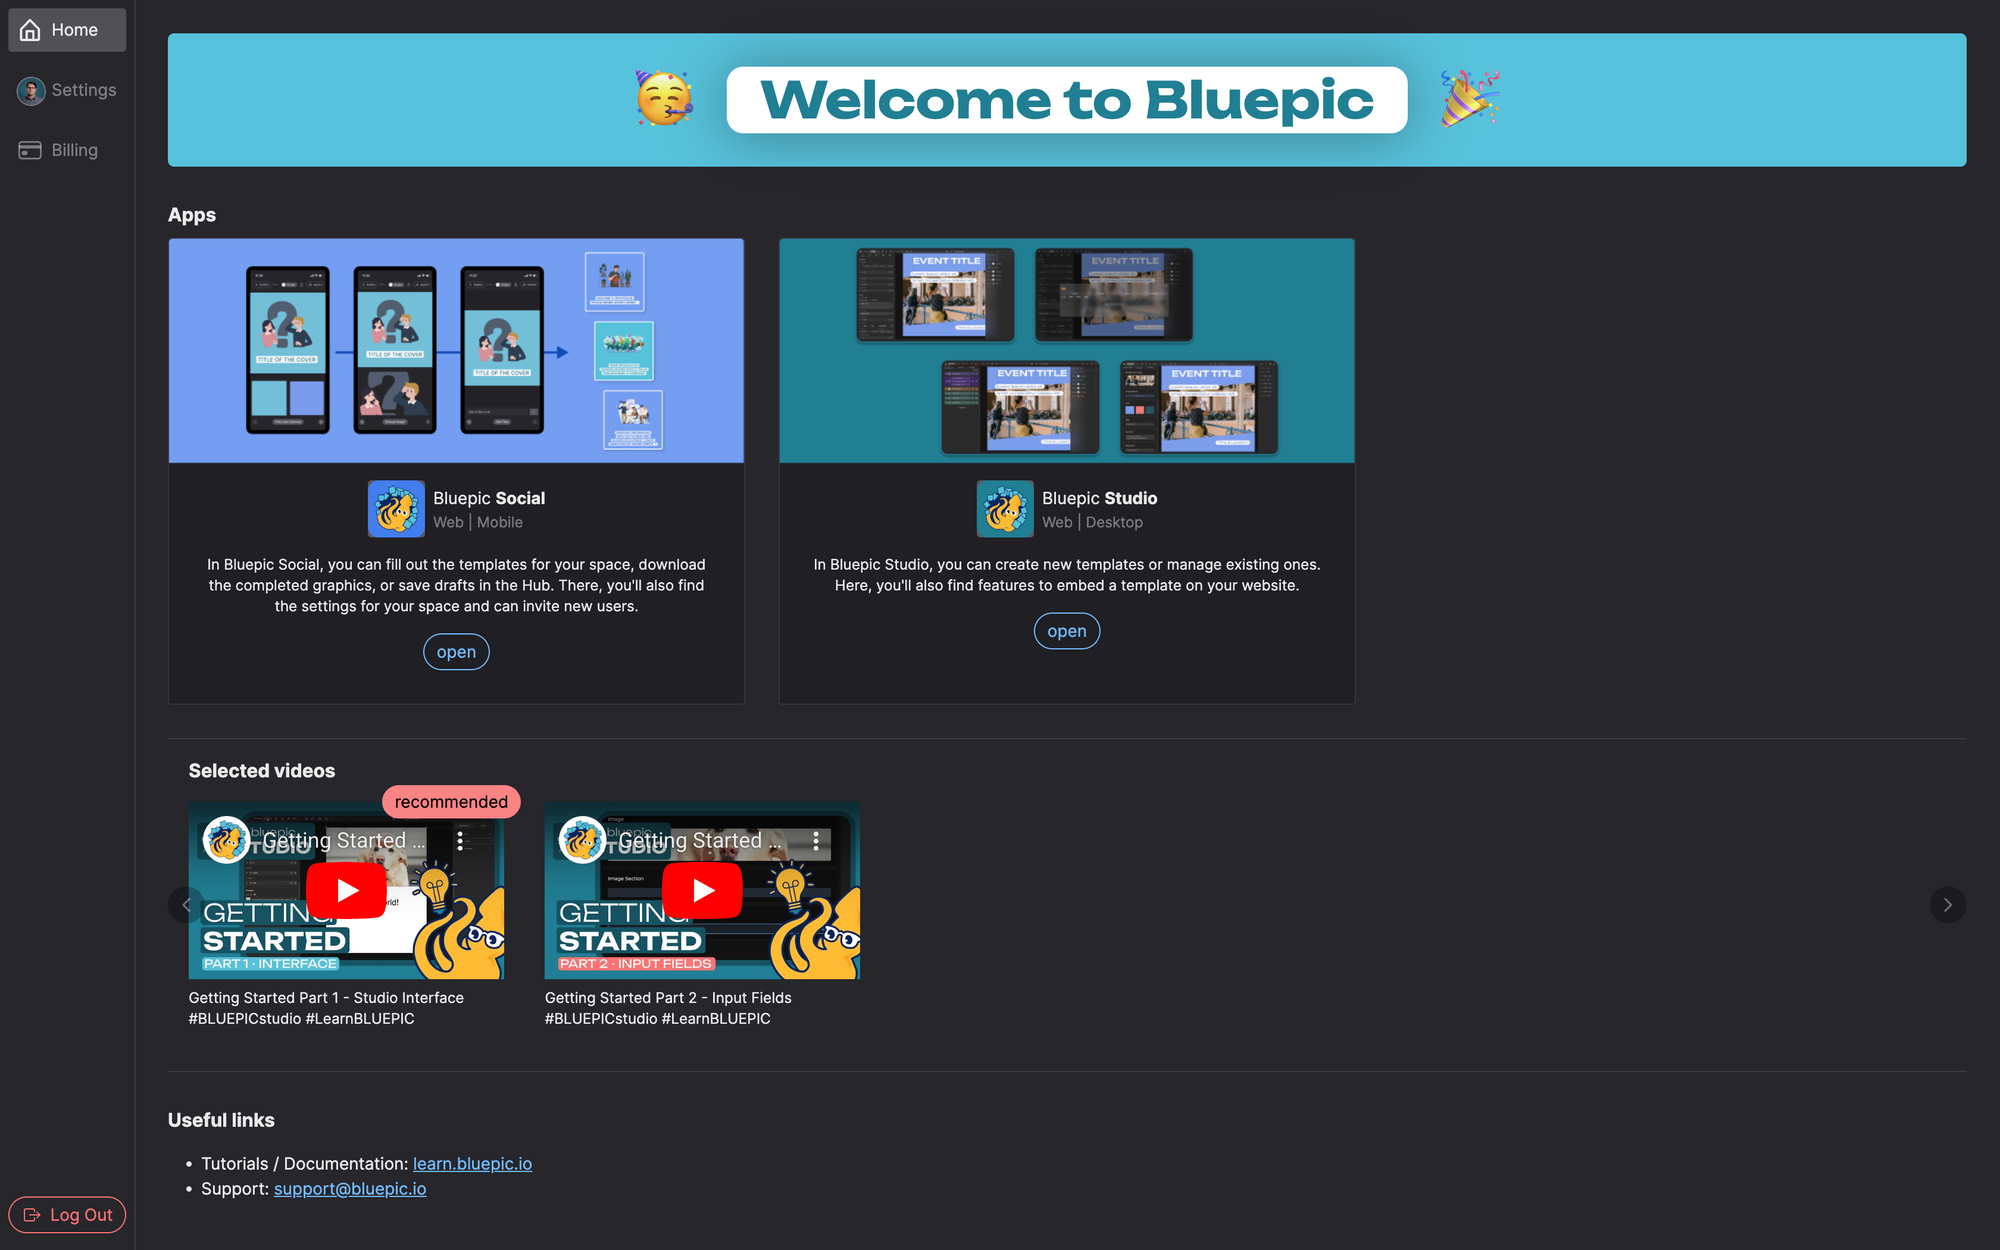
I assume you've already registered for an account. id.bluepic.io is the central hub of the Bluepic Software suite. There you'll find general account settings, invoices, and links to all our tools and media.
Step 2: Creating templates for you & your team
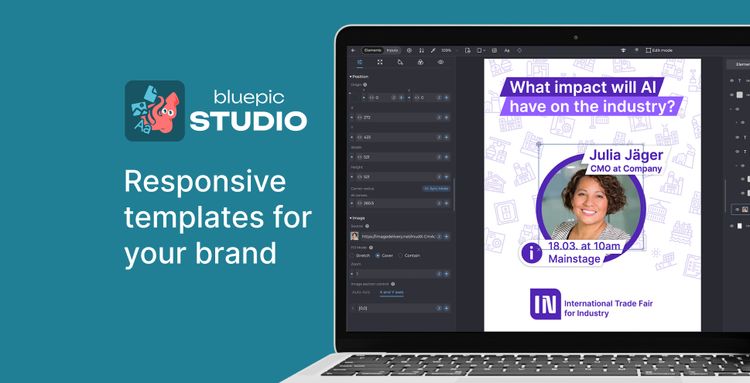
Bluepic is all about templates. They are created in Bluepic STUDIO, used in Bluepic SOCIAL, and embedded into any website via Bluepic EMBED.
To get your hands on some templates, you have three options:
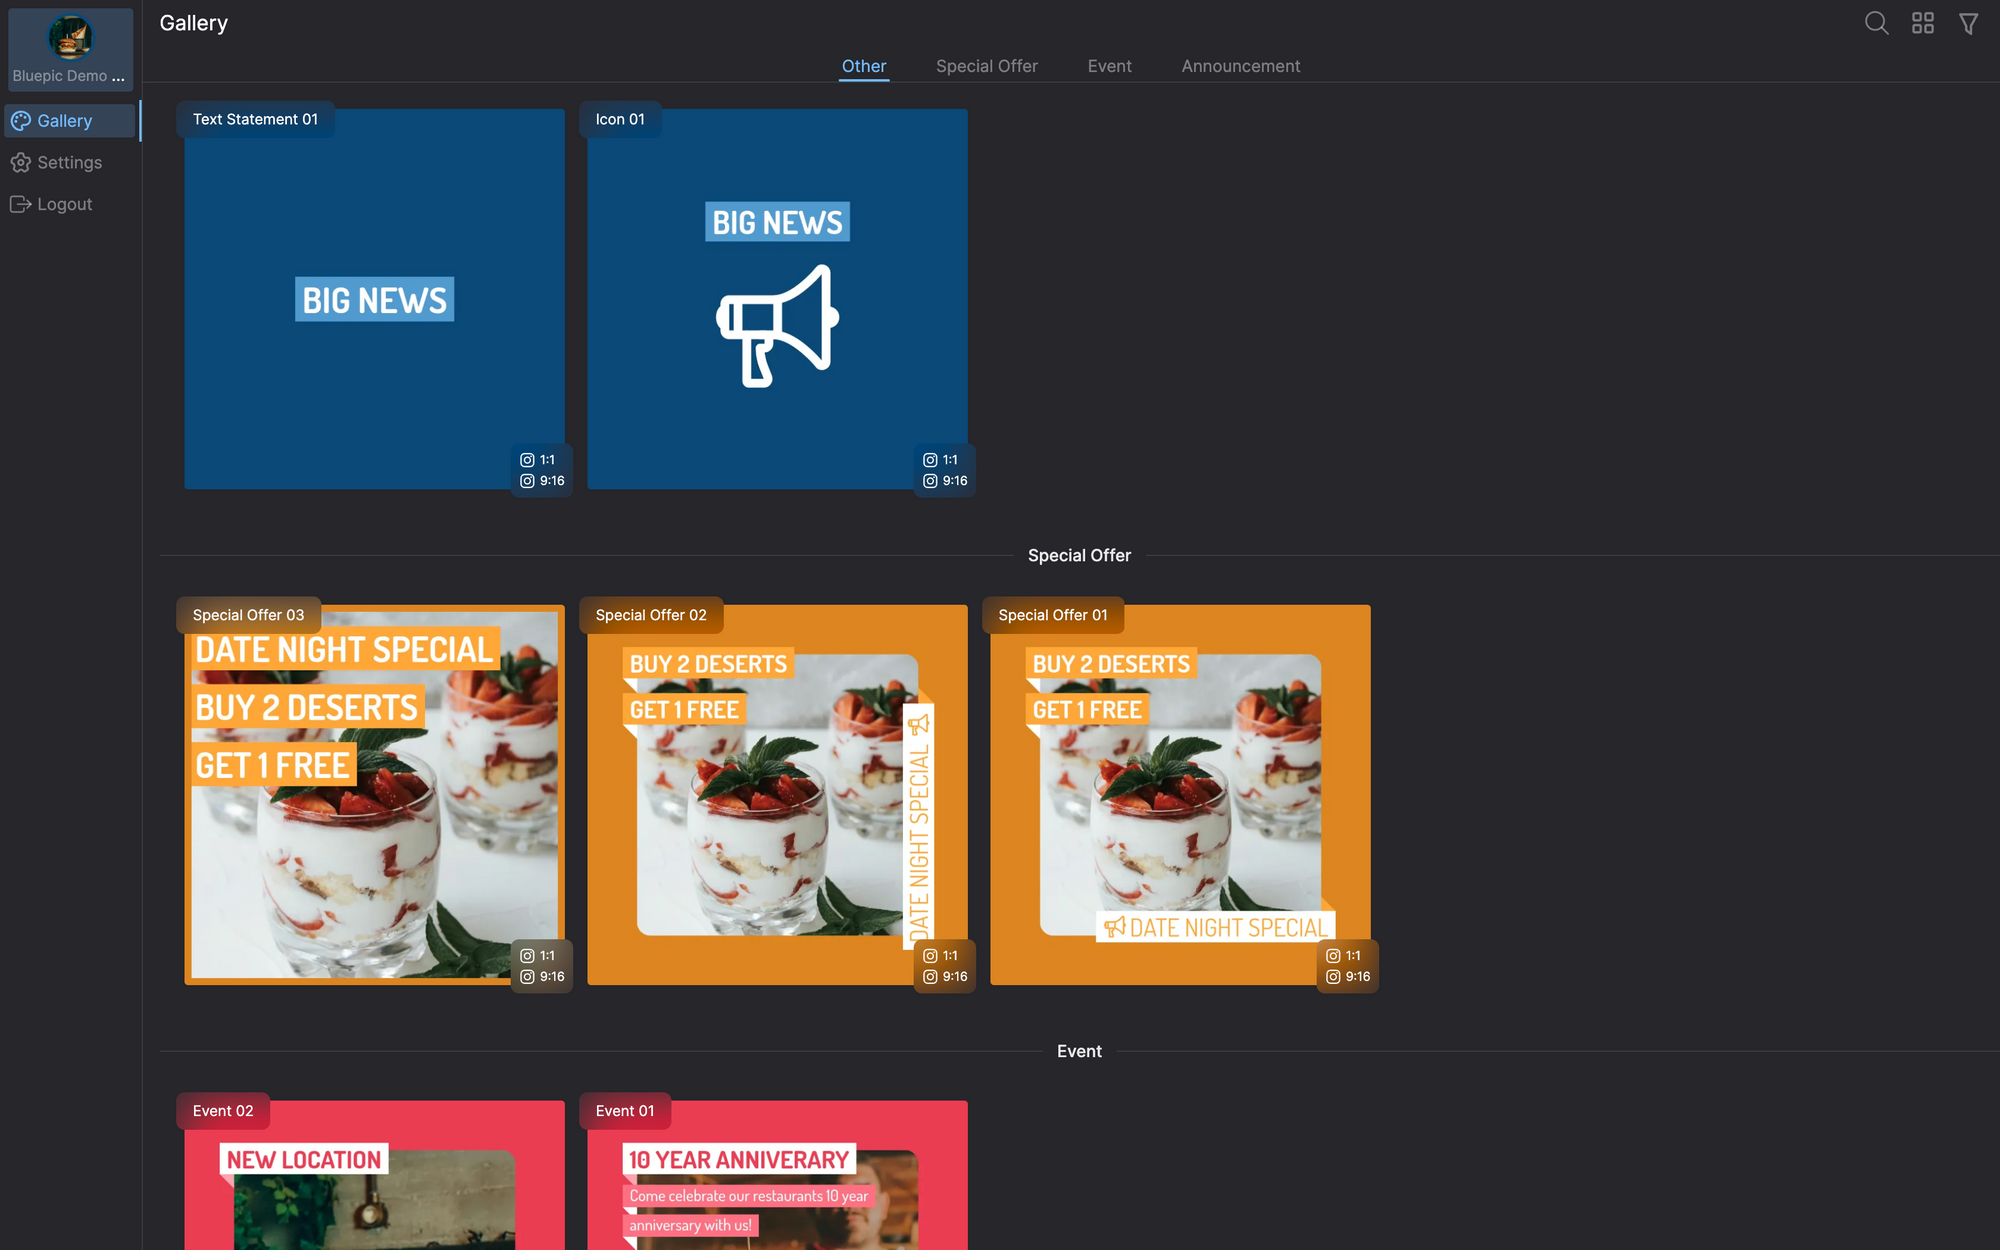
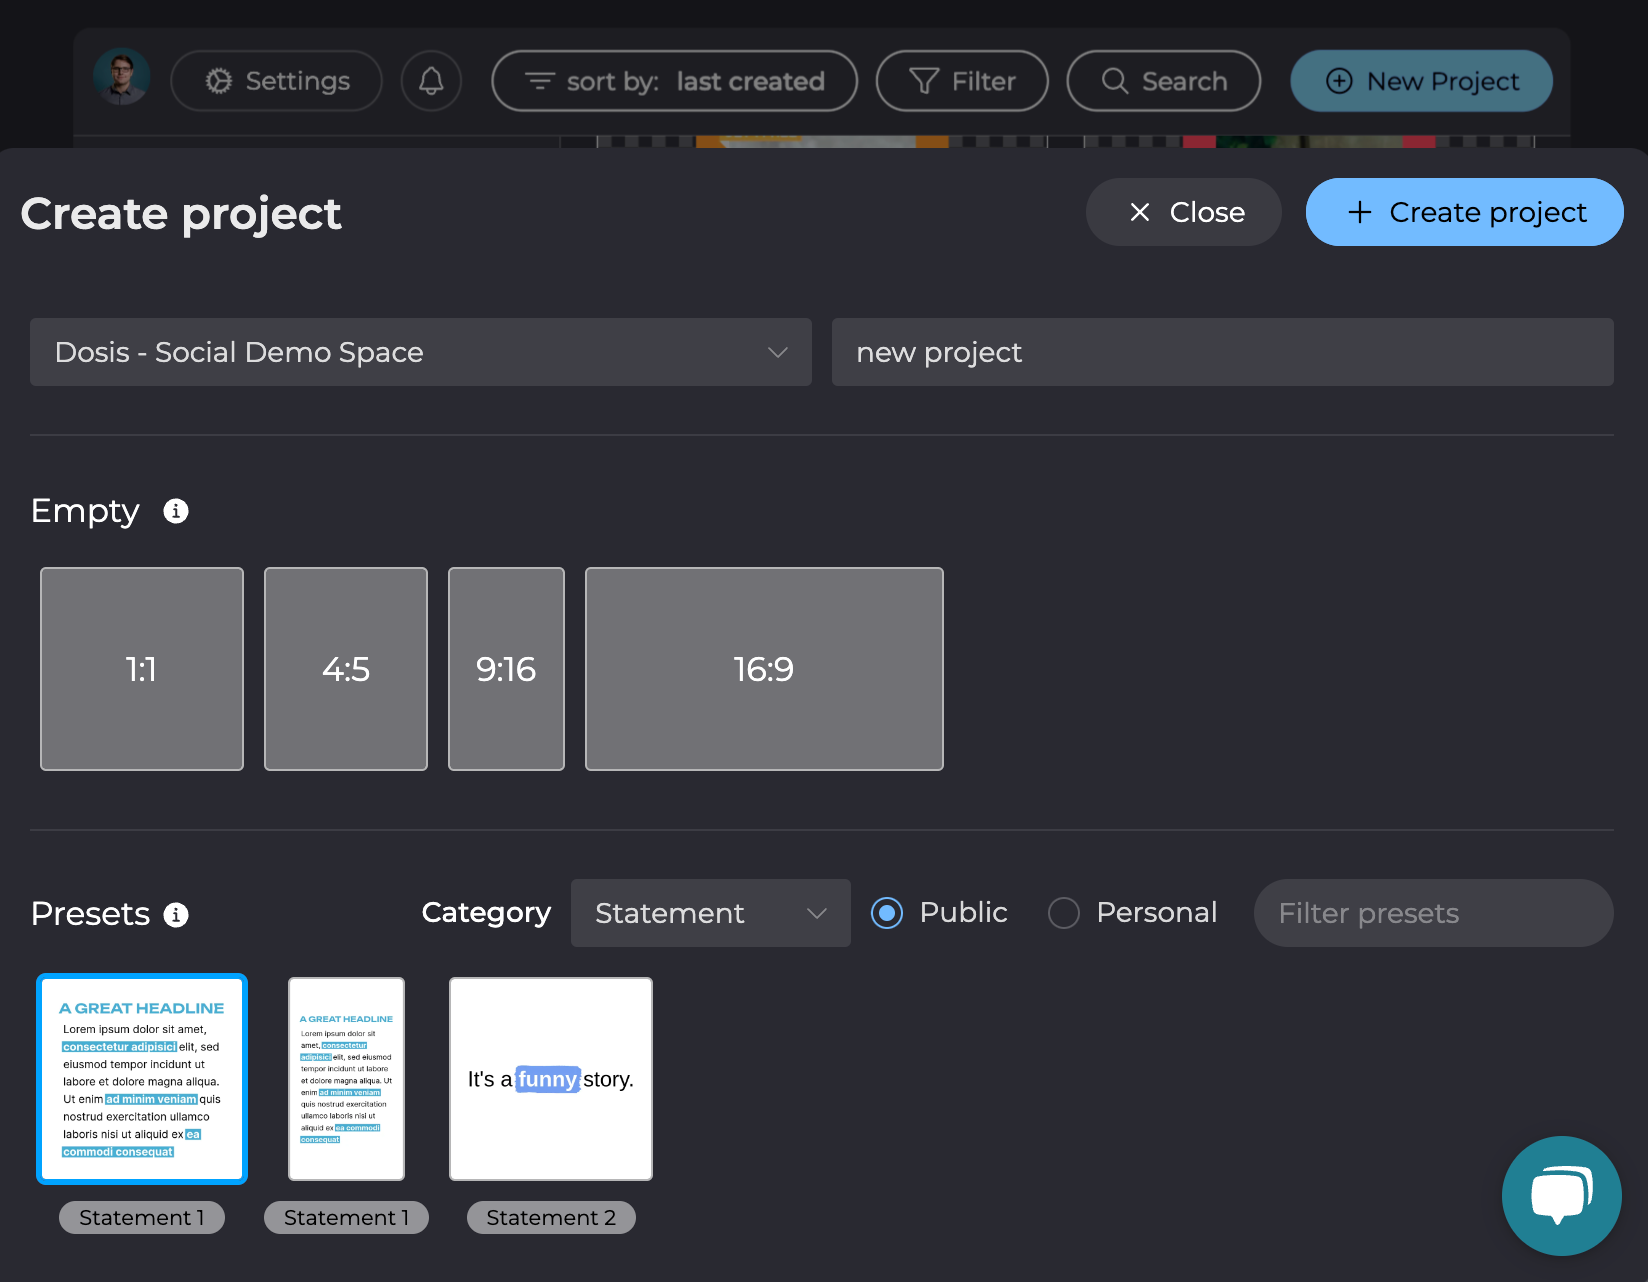
- You can use Bluepic STUDIO's presets - pre-made templates that can be customized by setting up your brand variables (like your logos, colors, and fonts) beforehand. You will find this option when you click the "New Project" button in Bluepic STUDIO's project gallery.
- You can build your own custom templates. If you have some design experience or are an experimenter by nature, you will enjoy creating your templates in Bluepic STUDIO. To help you with the basics, we have created an interactive tutorial, documentation at learn.bluepic.io and video tutorials on our YouTube channel.
- You can hire us to build templates for you. This is a viable option, especially if you are looking to embed a graphic generator on your website with Bluepic EMBED, but you don't want to learn how Bluepic STUDIO works. For more information, visit: https://bluepic.io/template-service
Step 3: Testing your templates in Bluepic SOCIAL
Before inviting all your team members to create an account and join your team's Workspace, it might be a good idea to give your templates a test run by yourself.
So, how do you get the templates you've created in Bluepic STUDIO into your team's Workspace in Bluepic SOCIAL? By publishing them...
Any new project in Bluepic STUDIO starts as a draft. Once it's good to go, you have to publish it. There's a button for this purpose in the upper right corner of the project editor.
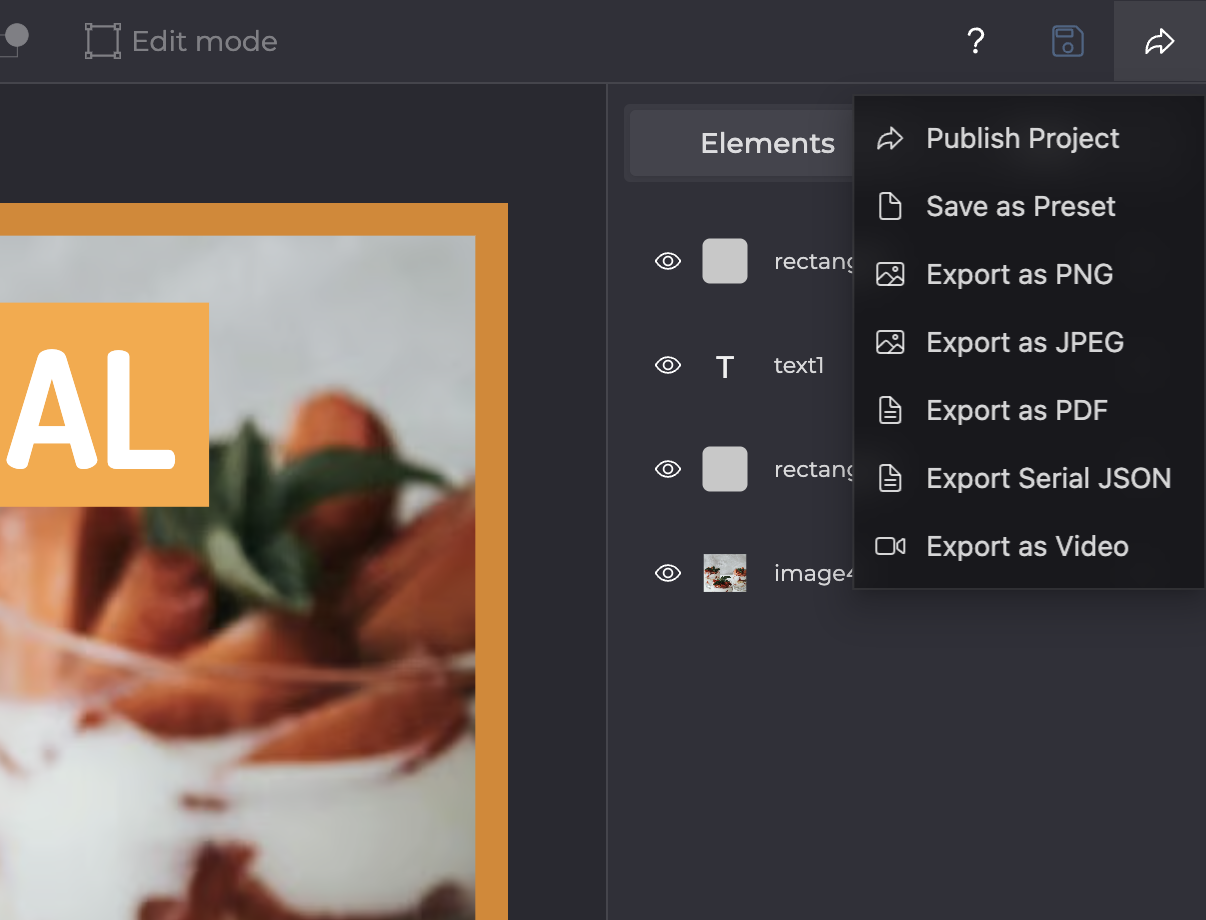
Any published project from your account can be connected to your team's Workspace (provided you are the admin of that Workspace). Once it's published and connected, it will appear in Bluepic SOCIAL's template gallery for every member of your Workspace.
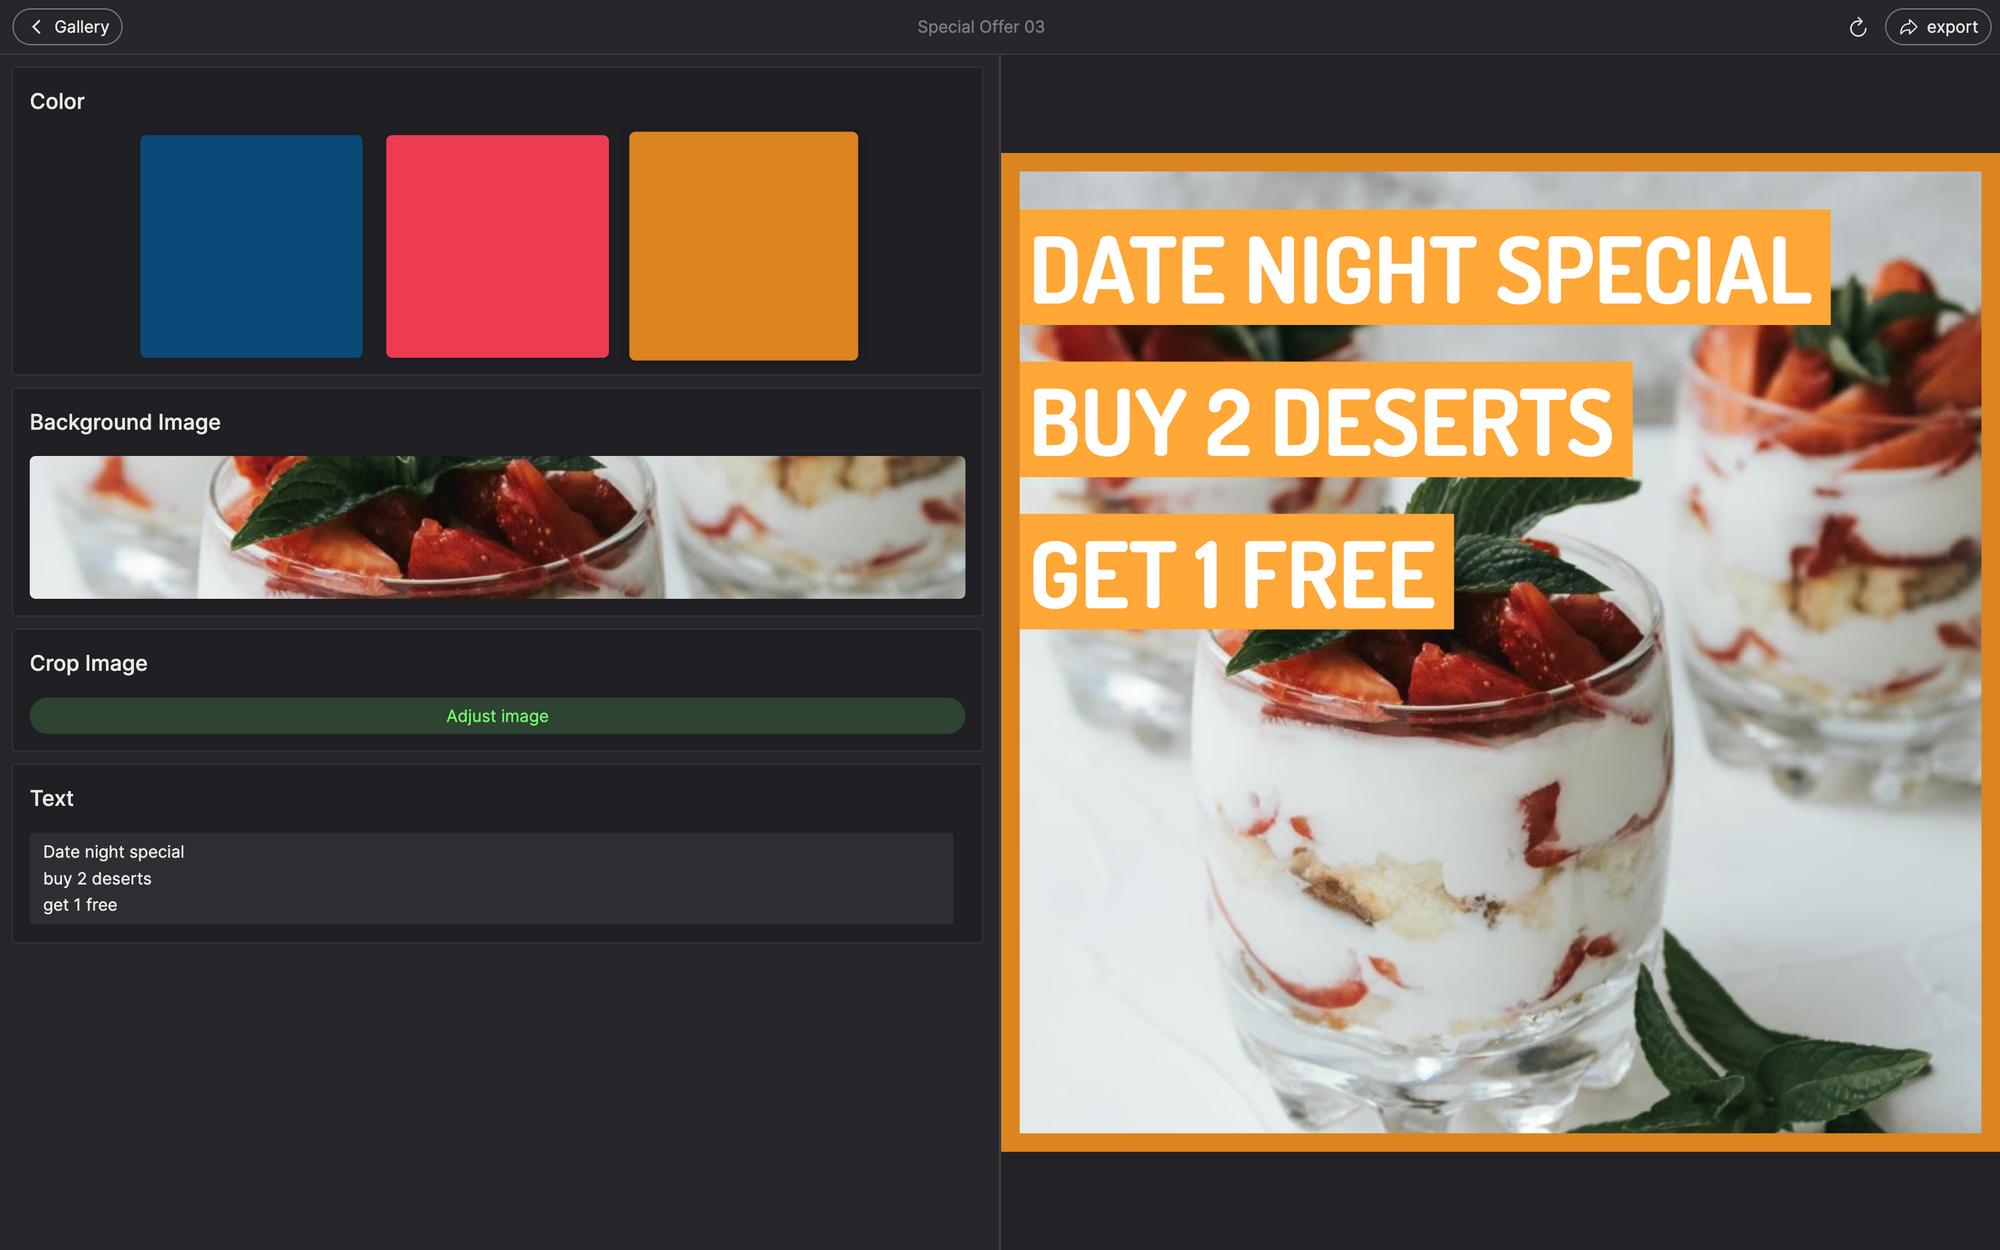
If you've done everything right, you should now be able to give your new templates a try. You'll notice that the template editor's interface in Bluepic SOCIAL looks very different from the project editor's interface in Bluepic STUDIO. In fact, it's much less complicated! That's what Bluepic is all about. Now go ahead and fill out the input fields with new content, and when you're happy with the design, export it as a PNG or a JPEG to your device.
Bluepic SOCIAL has many more features to offer (especially for team collaboration), but to make any sense of them, you need to invite your team members to your Workspace.
Step 4: Inviting your team members
To invite team members to your team's Workspace, you need to go to the Workspace Settings. There's more than one way to get there, but the easiest is this: Go to Settings > My Spaces > Select the Workspace from the list.
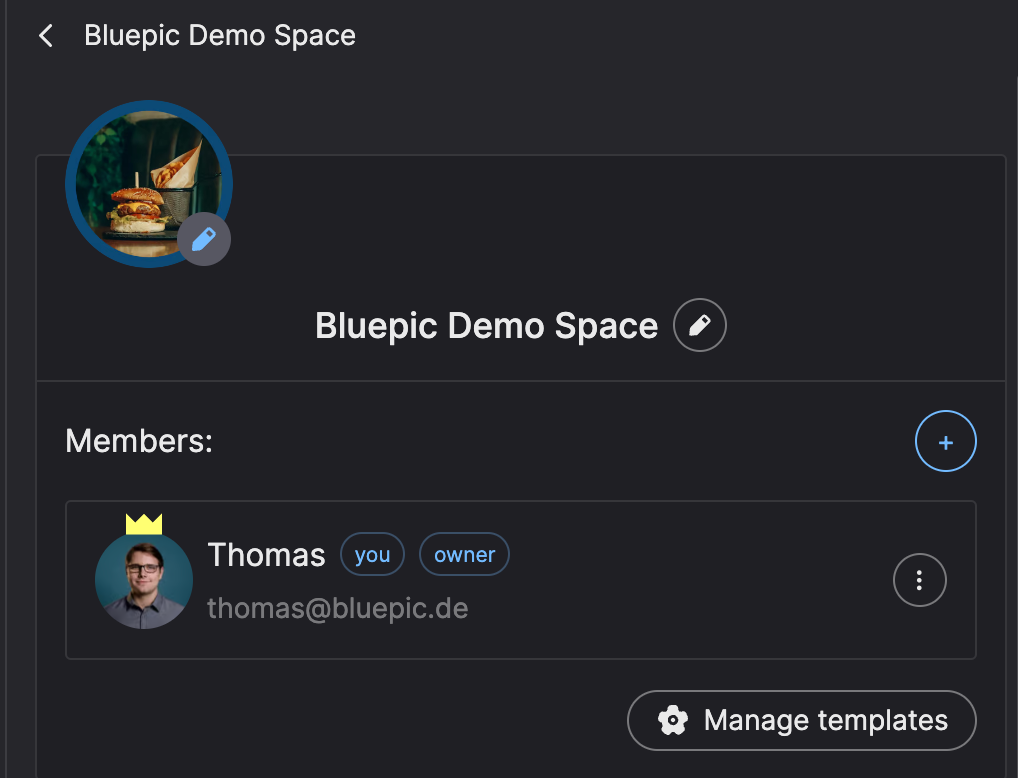
In the members section of your Workspace settings, you will see a round button with a "+" symbol. This is where you can invite new members. They will receive an invitation email, and once they've signed up for their own account, they will automatically be a member of your Workspace.
Here's a few more things to note:
- You can promote team members to the admin role, which will allow them to add new members themselves and also to publish and connect new templates from Bluepic STUDIO to your Workspace.
- If you have created the Workspace, you will have the unique role of Workspace Owner. Only the Workspace's owner can purchase or manage the Workspace's paid subscriptions. You can transfer the Ownership role to another member.
Step 5: Try one of our paid subscriptions
If you've tried Bluepic SOCIAL with the limitations of a free account and now you'd like to have an unlimited number of templates, an unlimited number of Workspace members, and access to our premium features, then it might be time for a paid subscription.
Premium features include:
- Access to the premium hub (where you can save drafts for your team to review and organize)
- Access to the batch editor (where you can create multiple drafts of one template at once - perhaps even hundreds of drafts by uploading a CSV file)
- Access to the Sub-Space hierarchy (which allows you to map your organization's departments or teams into distinct groups with access to distinct templates and more)
Step 6: Embed a graphic generator to your website with Bluepic EMBED
Some users are interested in Bluepic SOCIAL, and some in Bluepic EMBED (and some in both). So, at this point, the order of the steps might not make sense anymore. Regardless, here is how you can embed a template you've designed in Bluepic STUDIO, combined with its simplified editor interface, into your website.
- Go to embed.bluepic.io.
- Create a new embed project.
- Select the template(s) you want to embed (note that you can only select STUDIO projects that have been published).
- Go to the embedding instructions tab and copy the code snippet to your website builder.
- Test the embedded graphic generator to see if it works as intended (at this point, it will still have a Bluepic watermark).
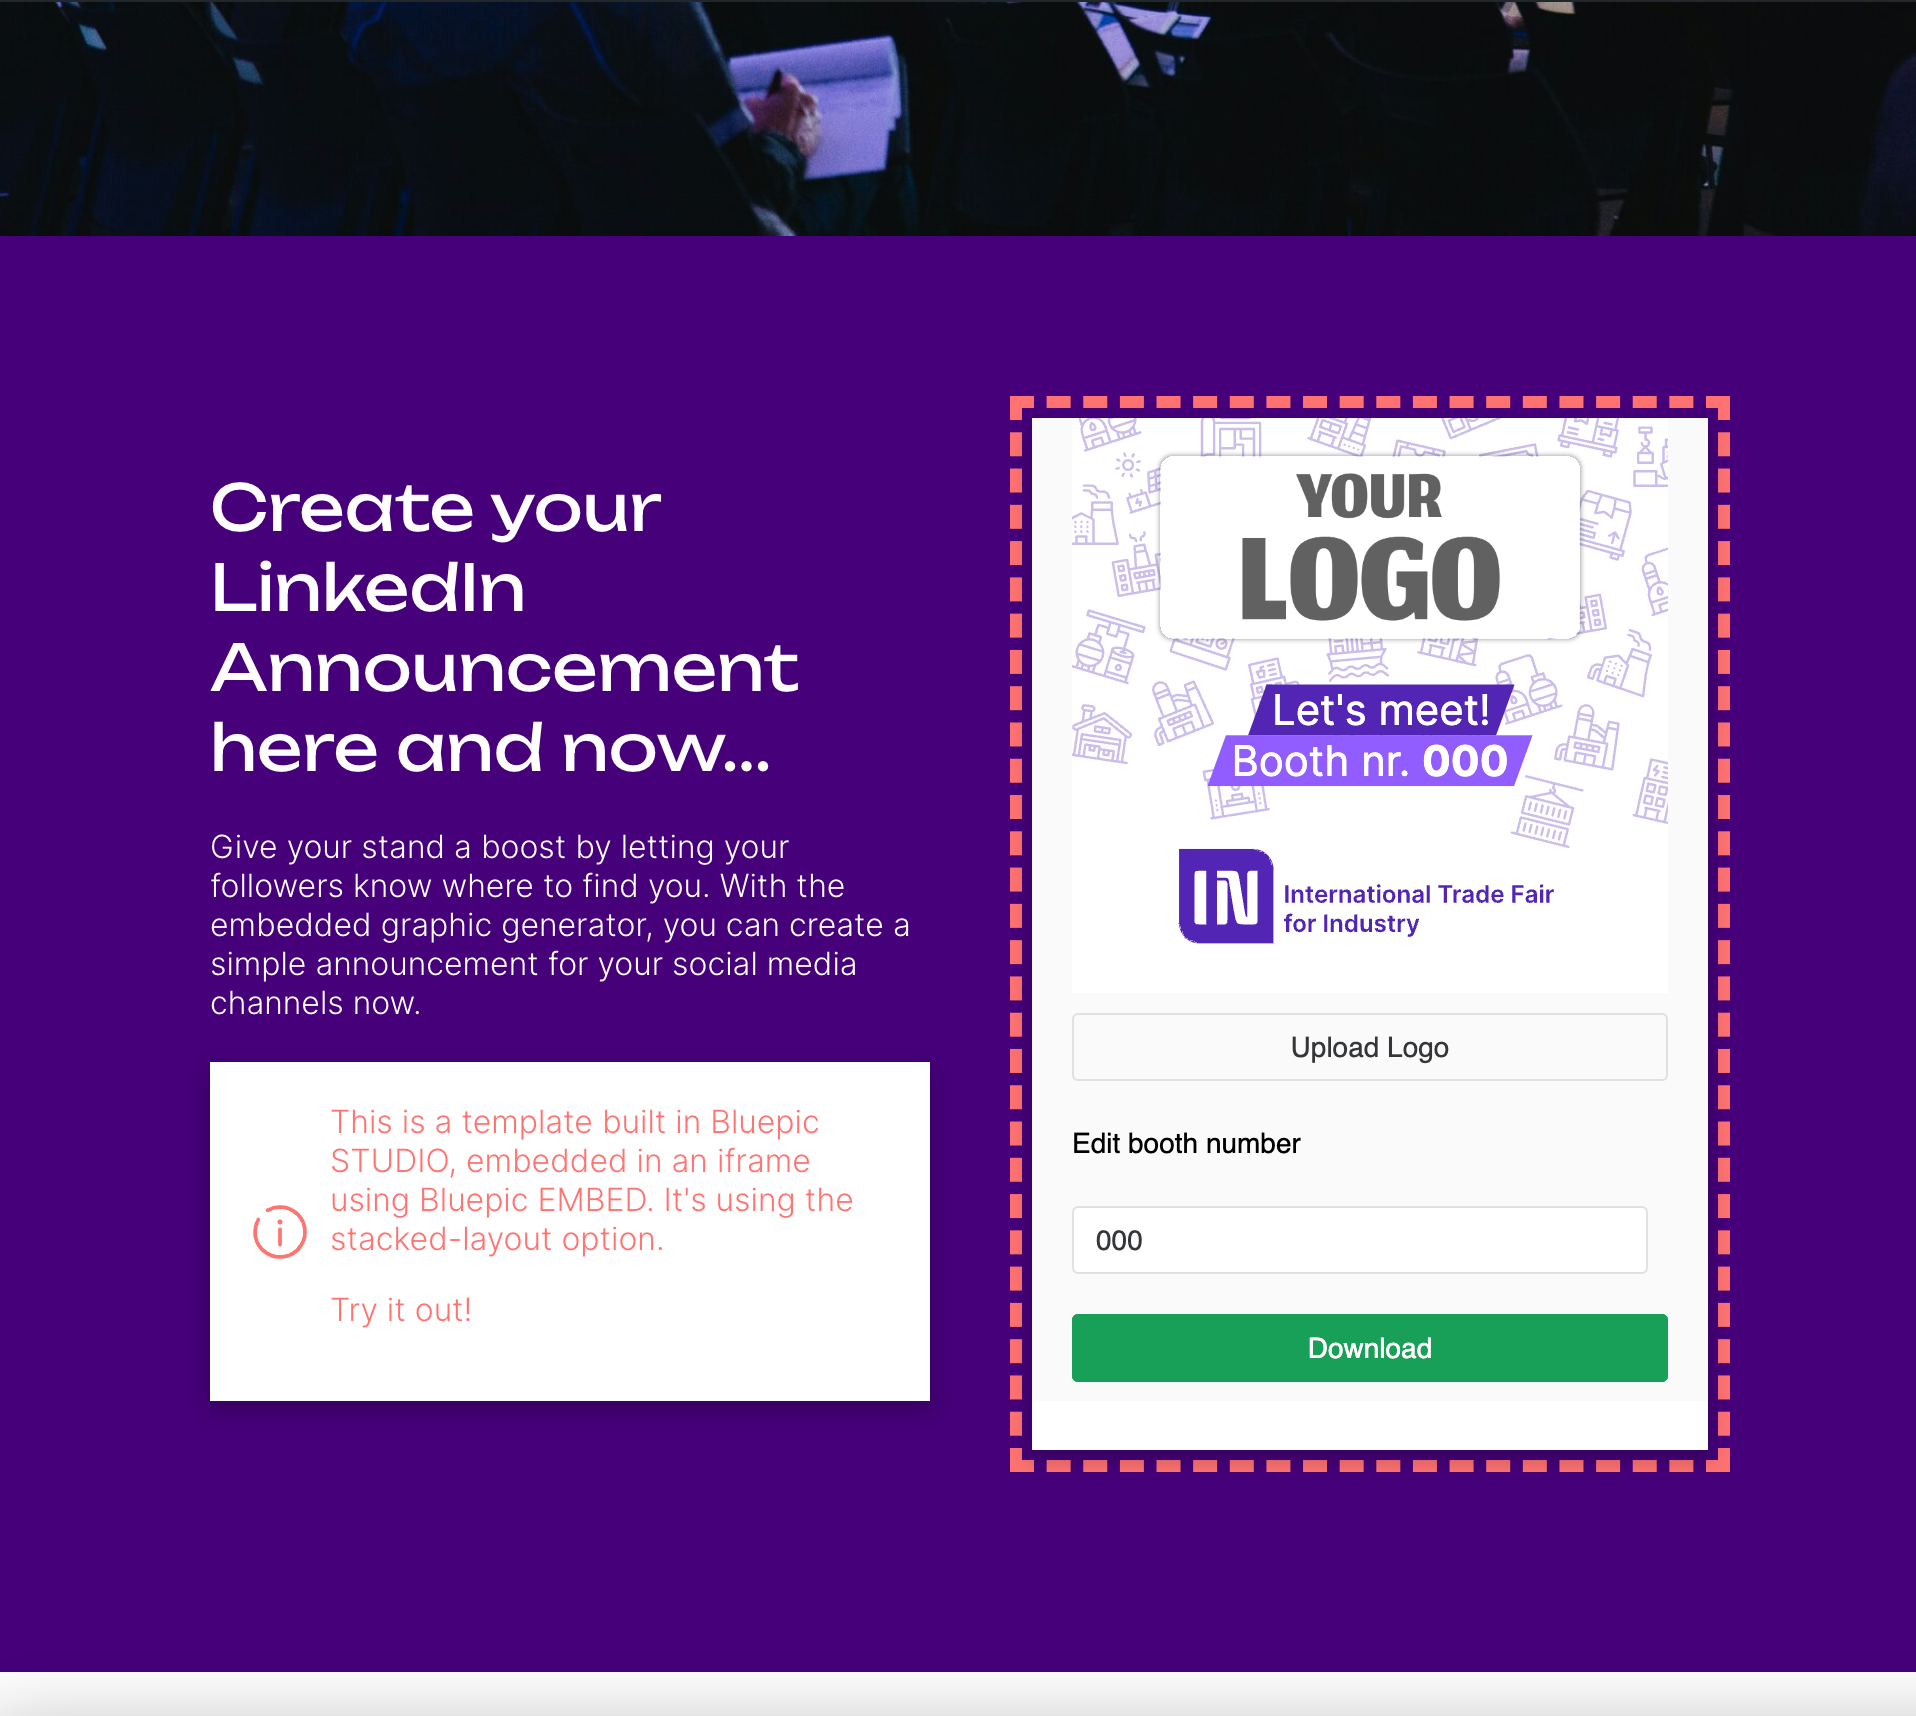
- Go back to your embed project and purchase a subscription for the project to remove the watermark (it will automatically update on your website).
